Table of Contents
Five questions you must know the answers to before customizing your applications
1. When should I start with the applications customization?
2. What will be changed within the customization?
3. What should I prepare to customize my app?
4. How to earn money using the memberships and credits through the application?
5. How long does it take to get my custom application approved?
When should I proceed with the applications customization?
First thing you should understand is that the iOS and Android applications customization is the 'final' step of your online business construction. Before starting the applications customization your website should be completely configured/customized:
- The final website domain (including protocols: http or https) and name should be determined;
- The website translation (if it's needed) should be completed;
- The website design and concept should be completed;
- The profile questions should be configured;
- All necessary plugins should be installed and configured, especially Facebook connect;
It's important to make your website ready-to-use before starting the applications customization.
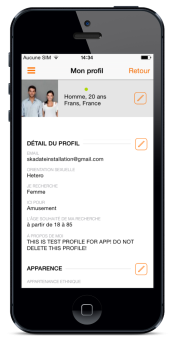
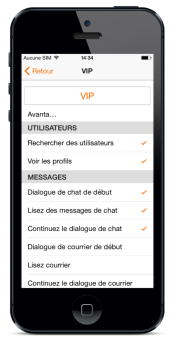
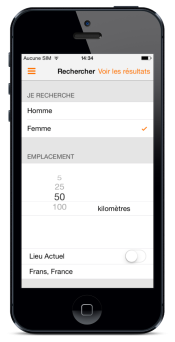
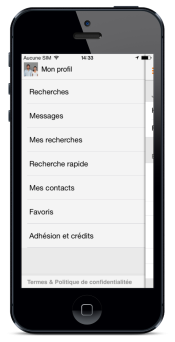
In case you haven't purchased the applications and their customization yet, but want to do it in the nearest future, you can check out our demo website and generic applications to see how the application works, looks and what features it contains.
You need to download our generic app:
- iOS app: https://itunes.apple.com/us/app/dating-app/id872986237?ls=1&mt=8
- Android app: https://play.google.com/store/apps/details?id=com.skadatexapp&hl=en
Use the demo website URL: http://www.skadate.com/xdemo/ or http://www.skadate.com/extended-demo/
Find the more useful information about the applications here
What will be changed within the customization?
iOS and Android applications customization contains almost the same list of changes. Here they are1):
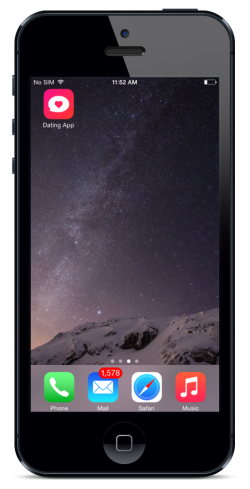
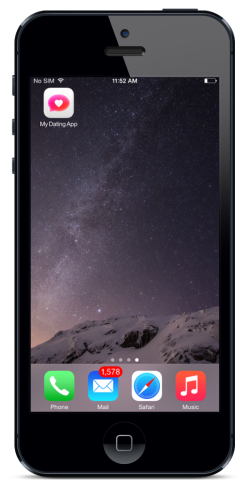
- The default generic application name (for ex:Dating App » My Dating App)
- The default application icon:
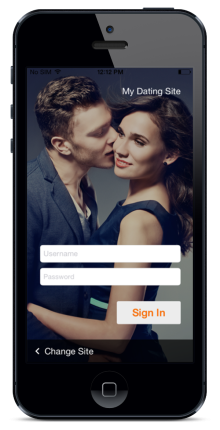
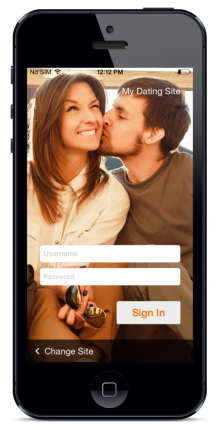
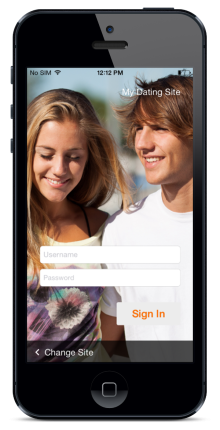
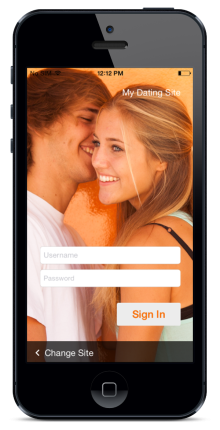
- Sign In screen background images 2):
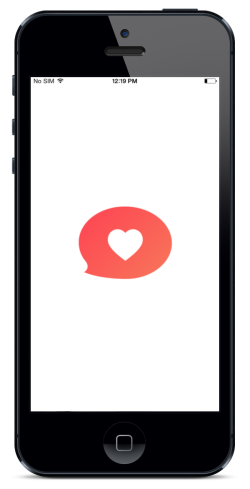
- Splash Screen - this image shows up when you launch your app:
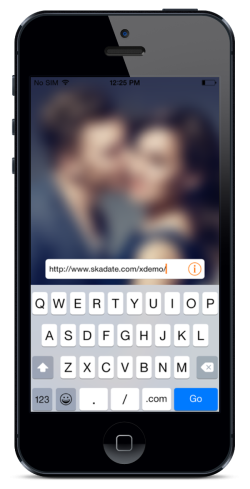
- Sign-in URL for website members - this page won't be visible since your website URL will be hardcoded and your users won't have to enter it every time they launch the app:
- Application language - if the default website language differs from English or you want to localize3) your app.
- Finally, your application will be submitted under your name.
What should I prepare to customize my app?
In order to customize your mobile applications and submit them to the Stores you need to collect the following information:
- Android application customization requirements: https://hello.skadate.com/docs/faq/miscellaneous/app_customization_info_android
- iOS application customization requirements: https://hello.skadate.com/docs/faq/miscellaneous/app_customization_info_ios
How to earn money using the memberships and credits through the application?
| Note: If you have Paid Membership and User Credits installed and configured at your website - it requires to setup In-App Purchases. |
If you want to monetize your website through the application, first of all you should configure the following plugins at your website:
| Note: You have to choose the monetization concept for your website, establish the plans, credits packages and prices before starting the In-App Purchases configuration. In case you change the price/plan/package information, you will have to resubmit the application to the Store and pass the whole approval process once again. |
Once the plugins are configured, you should configure the In-App Purchases for your application in your Store account.
iOS In-App Purchases configuration
iTunes has its own list of prices, so the prices of your membership plans and credits packs should be as close as possible to the App Store Pricing Matrix. Download it here
To configure the In-App Purchases, you need to sign the paid contract with the iTunes:
- Login to your iTunes account: https://itunesconnect.apple.com/
- Go to the Agreements, Tax, and Banking module on iTunes Connect to agree to the latest **Paid Applications** agreement:
- Set Up Contact, Bank and Tax information.
You must also agree to the Developer Program License Agreement before you can access the Paid Applications agreement.
To help ensure that your application is not vulnerable to fraudulent In-App Purchases, review the In-App Purchase Receipt Validation documentation: http://developer.apple.com/membercenter/index.action#agreements
Learn more about In-App Purchases system and configuration: https://developer.apple.com/appstore/in-app-purchase/index.html
| Note: The auto-renewable subscription type (the type you need to use for the recurring plans) may prolong your application approval process since iTunes has strict requirements to the auto-renewable subscriptions configured through In-App Purchases. |
After you sign-in all contracts and set the appropriate prices for your plans, you will be able to configure the In-App Purchases products. Please follow these instructions.
Android In-App Purchases configuration
For Android In-App Purchases system is called In-App Billing. It has no specific rules for the In-App Billing configuration. All you will need to do is:
- creating Google payments merchant account to create a product list and issue refunds to your users6);
- configuring the products using the following instructions
Find more information on how to Administer In-app Billing here: http://developer.android.com/google/play/billing/billing_admin.html
Also, learn more about In-App Billing system and configuration here: https://developer.android.com/google/play/billing/index.html
| IMPORTANT: If you do not want to offer user credits, memberships on the application - you have to completely deactivate Paid Membership, User Credits and Hot List plugins or at least deactivate them temporarily until your application is approved. |
How long does it take to get my custom application approved?
If we are talking about the Android application approval process, so then, it takes 5-12 hours to approve your application. In very rare cases your application can be rejected, but do not worry - you can always appeal a rejection and soon your application may be approved.
If we are talking about the iOS application approval process, so then, this is a very time consuming process. They can address the submissions/appeals more than a week. Thus, it may take from 1 week to several months to get your application approved.
All depends on the application information, website conception, In-App Purchases configuration and graphics that's used for the application.
There is some information you need to know about the approval process:
- Applications for the adult-oriented business are restricted and will be rejected;
- Here are the main three reasons of the rejection: bad quality of icons/images, insufficient information, incorrect In-App Purchases configurations;
- It would be better not to enter into the discussion with the iTunes operators and fulfill all their requirements;
- Application and the website are closely tied to each other. So everything should work smoothly on your website, otherwise some misconfigurations can lead to the problems on the application. That also can cause the 'reject';
- The Reject status not always means that your application is completely rejected and cannot be published in the Store. This is a standard status if the iTunes operators face some problems while the testing or have questions related to the principal objective of the application. You can always try to appeal their decision.
| Note: Each 'reject' prolongs the approval process for at least 1 week. |
Remember, the application rejection is the standard stage of the approval process and you can always contact our support operators in case you need any assistance.
Finally, to let your users know about your application - you can simply activate widget with the Android and iOS buttons and place it to the chosen position on the Index page. Find the instructions on how to do that here:
Android application: https://hello.skadate.com/docs/faq/site_configuration/android-in-app-purchases
iOS application: https://hello.skadate.com/docs/faq/site_configuration/ios-in-app-purchases
